
That's all the parts (minus a few minor bits like d-rings for the pack, the previous version of the straps, etc.)
This is the thing they are all fitting into:

That is, as a reminder, a period supplementary oxygen system (the canisters shown are chemical gas generators) and a reproduction trench helmet. The intent is to turn it into a pulp-era "what we thought space suits would look like" helmet and life support pack.
The simplest tasks are often the hardest. The trench helmet has vision slits. We wanted to make it look at least sort of air-tight and that meant fitting acrylic lenses into the roughly-fabricated eye slits. Three attempts later I have a "good enough."

Greased the helmet up with vaseline as a release agent and pressed Apoxie Sculpt into the eye slit. When that was hardened, trimmed and sanded for a nice shape. Molded in the last of my silicone, using modeling clay as a mold box, and cast in "Easy-Cast" clear resin.
Then realized the curvature was making them impossible to see through...used a Dremel sanding drum to curve the backs to match the fronts, then wet-sanded up through the grades; 220, 400, 800, 2000. Finished off by dipping in Future floor wax when Novus #2 failed to restore a good clear finish.
On the other hand, sometimes what looks complex is actually (relatively) easy:

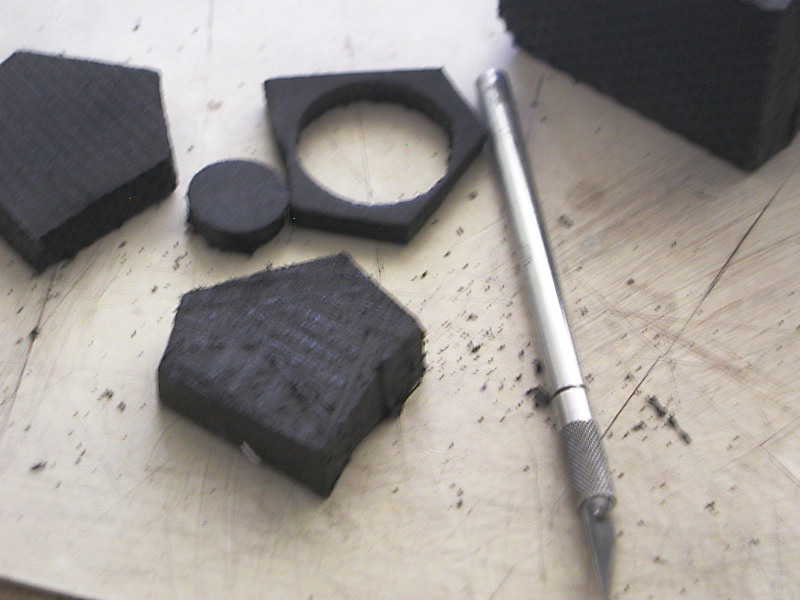
The decorative emblems were laser-cut from 1/16" acrylic and some scrap styrene sheet, and supermagnets glued into a hole laser-cut for that purpose. A little spot putty and some texture paint (for the "well worn" versions) and they are ready for detail painting. Even the pattern was no headache; I took the Black Sun image off the Wikipedia page, did a "convert to vector" in Illustrator, and with just a few minutes of clean-up it was ready to laser.
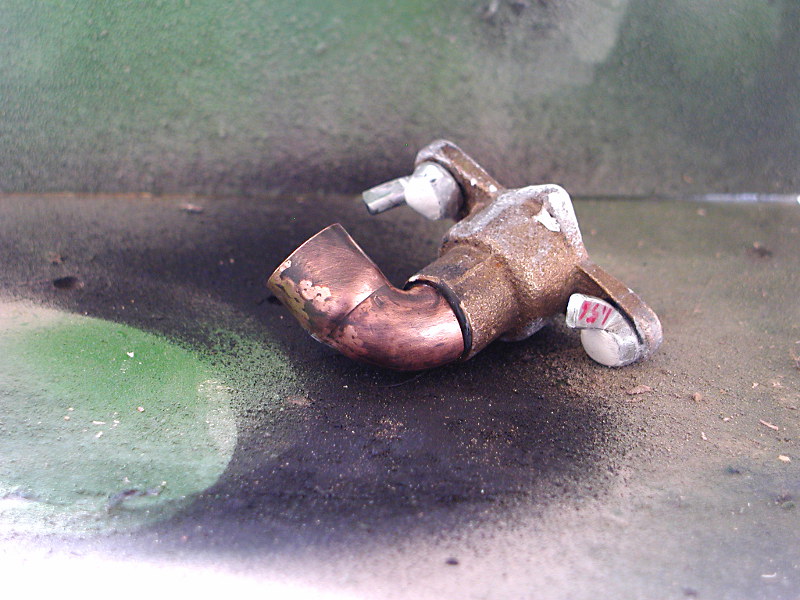
The inlet there was mostly nasty due to having to grind a helmet-fitting curve into the original plumbing hardware I started with:

I found a selection of parts that had a nice look and fit the hose I was using. Used the Dremel to shape them, glued them together with JB Weld, filled in some remaining details with Apoxie Sculpt:
The original intent was to use a separate oxygen mask. As a reminder; the mask started with a duct-tape dummy of my own face, went through plaster positive mold, Sculpey sculpt, pull in PETG, added details in laser-cut acrylic, cast "beads" in acrylic, and plumbing fittings, with the rubber edge achieved by stripping a length of audio cable and slitting the cover to fit it over the edge of the vacuum-formed shell.

But the mask doesn't fit well under the helmet, so we're adding an inlet (that fits the same oxygen hose). The hose itself, by the way, is "universal" washing machine drainage hose spray-painted black then back-painted with grey primer to pick up the details. The coupling at the tank end was hand-fabricated out of ABS plumbing fittings, with tiny strips of styrene glued on to make the finger grips.
Of course, this being actual period Navy gear, we didn't want to take a chance on whatever chemistry was inside the original canisters. So fabricate a new one. Off to the grocery store with a pair of calipers.

Trimmed the can to the right height, fitted an MDF disk to keep it round and make the "top" lid, and filled with a mixture of plaster and crumpled expanded polystyrene (to keep the weight down). Then worked on the distinctive conical ends:

Marked out 1/8" MDF disks;

Cut them out on the scroll saw and glued the stack together. Fitted a short length of ABS pipe in the center and skinned the thing in Bondo. Then the usual round of primer, spot putty, final paint coat to make a vacuum former "buck." I need to find a different paint, though, plus something to use as a proper mold release.
(I would have lasered these out, but it wasn't convenient to run out to TechShop that day).

As usual, the buck didn't survive. But I got two good pulls from it which is all I needed.

Trimmed with metal shears then filled the vacuum formed shells with Bondo and put them on the top and bottom of the can.

When they had hardened, cut a narrow strip of scrap PETG (styrene would work just as well) and used a heat gun to convince it to curve nicely to simulate the metal fold at the top of the can. If I had been smart, I would have sanded it first. As it was, I wrapped tape around the can to protect it while I sanded the PETG down to make it look more like the rolled metal edge at the other end of the can.

And primed, it doesn't look too bad.
The rubber grommets started as a chunk of EVA foam from an old equipment case I had lying around; cut down to 6mm with a razor saw, then carefully cut out into the proper donuts.
All in all, the can is a little too heavy, but it is a decent match for the original, and is sturdy enough to stand being cranked into the pack:

(The insert canister doesn't need the protective end caps...or for the caps to project quite so far into the strong springs of the pack. It won't be getting weathered as these basically come out of the box and get discharged in a couple of hours. The green, however...John Deere green is not a perfect match for the yellow-green of the original equipment, but I'm not going to mix something and try to get a good brush finish so good enough).
No comments:
Post a Comment