Well, like the story of Basho and the Fish, getting to the point where you press that button is actually a lot of work. What these new tools are, is just another form of jig (or "tooling," if you want to use the fancy aerospace term).
I used a lot of jigs when I was a full-time theater carpenter (that is, a set builder). We'd spray-paint them red so they didn't get thrown out by accident. One show I had to make a whole bunch of fake bolt heads as decorations for some massive girders. Underside of a bridge or something; I don't remember now. Ripped down 1x to 2", cut it into 2" squares, cut off the corners to make a hex shape, then routed around the top. I spent most of a day making a complicated jig that would hold the thing in place for all the cuts and routes.
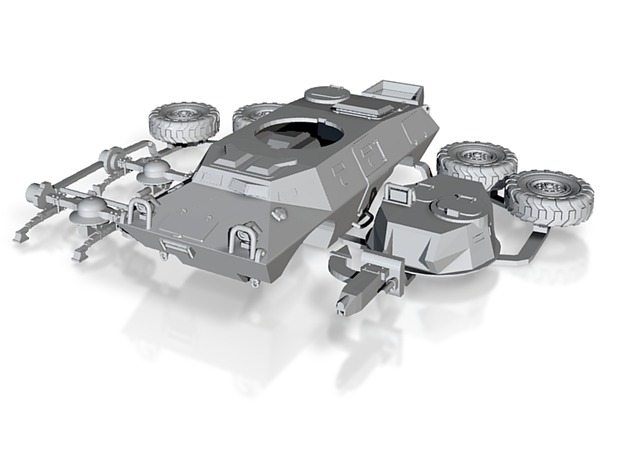
 Which is the thing, here; if you save any time with 3d printing or CNC machining, it is when you are building multiple copies. The savings, if any, are one of those economies of scale. I could have scratch-built a V150 armored car in less time than it took to make the 3d model. But since the model was made, we've printed four or five of them (plus there's at least two others out in the world).
And, well, you'd think -- for all that computing power you have to throw behind the design process, it still takes horrendously long.
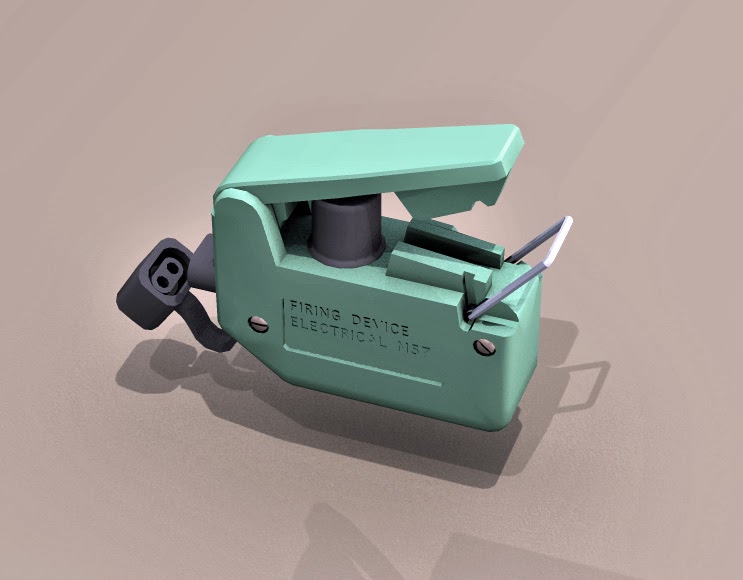
 On the 3d side, I've been working on my M57 "Clacker" model to make it 3d-printable. Apparently, some people have used them to make an e-cigarette! Seems like it would be useful anyhow to work up as some sort of general-purpose button-powered prop. But low priority project. Also working on the V150 model again. Someone over at Shapeways has an interest in seeing it in 1/18th scale. Which requires a higher level of detail than is currently in the model, but I have also slowly been working it up as a Poser version anyhow, so that's been happening already.
My old penlight finally died and I thought of yet another project that would be very cute. To wit; a penlight in the shape of a Sonic Screwdriver. But not any of the existing ones; a very small one built around a single AAA cell -- not the dual AA versions which won't fit in a pocket, or the ones using weird rare batteries that are a pain to replace. AAA, with a boost circuit driving half a watt of narrow-beam colored light (we almost always use colored light backstage. Tradition.)

But that requires going into the CAD software and figuring out a casing that can be printed or machined that fits the available components and looks at least something like the sonic of choice (I'm partial to a War Doctor sonic, myself, which is basically a Tom Baker sonic with a different top).
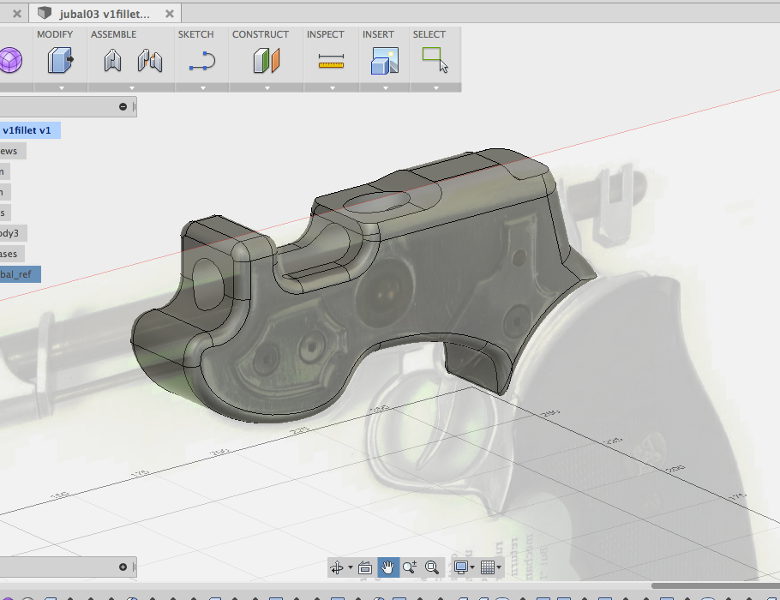
Also back on one of those rear burners is the Jubal Early CNC model. And a turned flash hider for a "King of the Rocketmen" pistol.
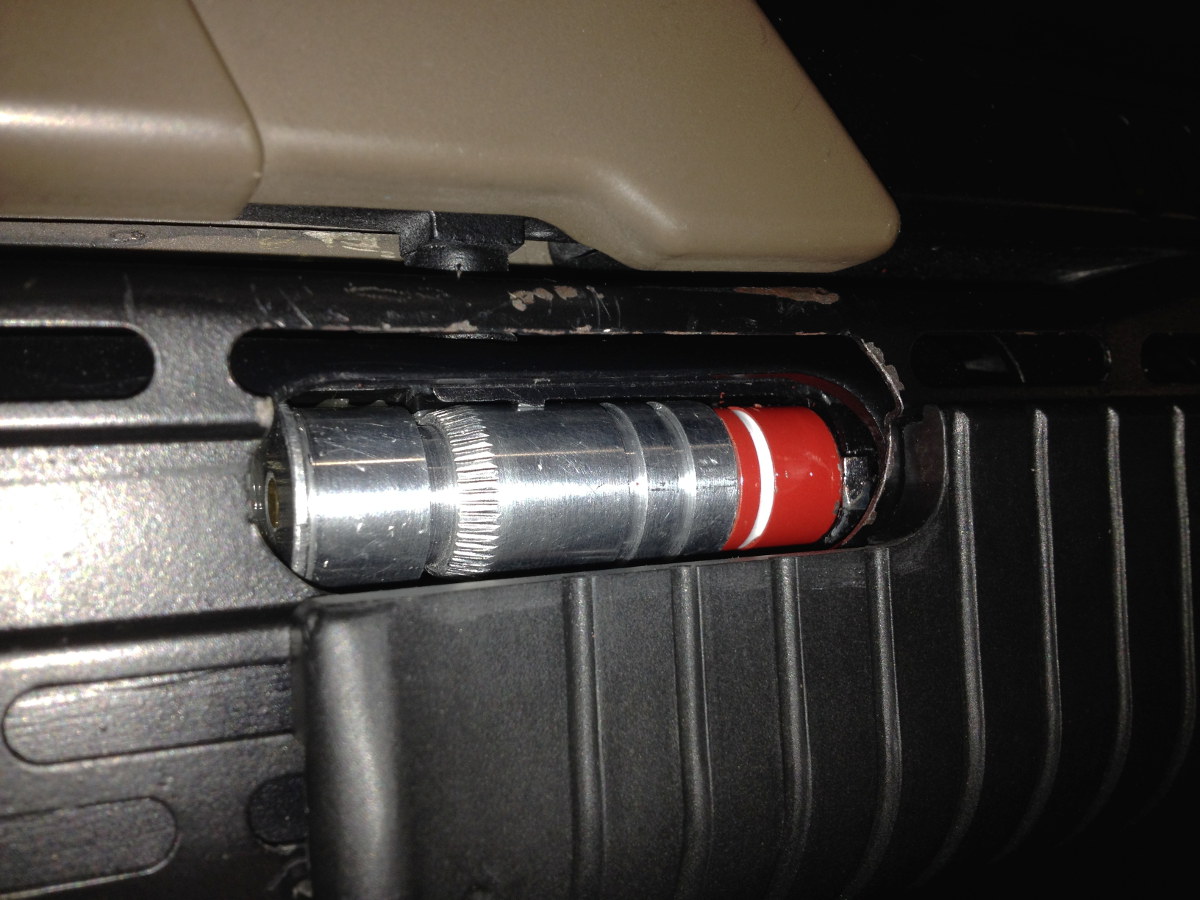
 I just got another order for "Aliens" grenades. And since I'm overdue for it, going to revisit the process and some of the measurements. And purchase some new lathe tools. And that's not (mostly) on the computer, but I still think about building my own versions of some of the variant ammunition, and that's probably best done in a CAD application. With an eye towards printing, casting, or even perhaps injection molding custom caps.
 Although I need to order metal and tooling now, the priority machining task is finishing up the Suomi. I have been reading about silver solder and I think I might fill some of the smaller remaining voids with that and deal with the way it will alter the finish in those locations. They are mostly hidden anyhow, so I think it may be okay. Most of the work on this is pretty primitive, though. I did a lot of the milling entirely by eye. Heck -- I didn't even calculate my feeds and speeds, but just set up the mill by ear and instinct.
I've been really pushing on the DuckLight PCB -- working it up in Fritzing at the moment, which seems to be working and saves me the time of learning Eagle properly. Using the prototype in another show helped a lot. I'm getting excited about this thing and think it may be a very useful little trick for the prop-maker's arsenal.
I'm going with an ATtiny84 now. Four channels of software PWM current-controlled to 350ma means you can run a cheap RGB "Cree" LED, an RGBW, or a single-channel LED of up to three watts in bridging mode. ICSP header for the experienced programmer, software serial I/O...and there's enough I/O pins left on the '84 to put in a Program Select button. So the end-user can dial up a bunch of basic effects right on the board, without needing to connect up a computer. The XBee option will be on a daughterboard, though; there's just no space for the pin footprint.
I fully intend this to be offered in kit form. And at this point I've solved enough of the electronics and programming issues I really am ready to make up the first batch of PCB's.
 If that wasn't enough light, I have a second order for the LED stage lights I built. Now I just need to get the client to pay a little better piece-work for assembling them...
No comments:
Post a Comment